Saturday, August 27, 2011

A bit ruffled, but busy as a bee.

An early morning and several hours in the car (driving stateside for some back-to-school bargains) left me with a lot of time to craft today.

Before hubby got out of bed, I had the ruffle finished on baby blanket below that I've been working on for the past couple of weeks. (I didn't want to do anything loud to wake him, sweet and loving wife that I am, so I had to--just had to--sit in a chair for an hour and a half and work on the ruffle.) This blanket is for no one in particular...yet...but I'll be all ready for the next friend who shares any baby news. Since the tent sale two weeks ago, I've been trying to slim down my yarn stash and make room for my new purchases. There is a lot of baby yarn in there. I'm predicting a few more baby blankets will be created in the near future.


The afghan is crocheted in Bernat Softee Baby (the pink) and Bernat Satin (the white). Both are sport-weight yarns. The basics for the pattern were gleaned from Lion Brand's website, but I turned the pattern on its side and made my own border.

The ruffle is a VERY simple border:
1. I crocheted a row of sc all the way around the perimeter of the blanket in the pink colour.
2. Then I switched over to white yarn and crocheted 4 hdc in each sc stitch. That's it! The ruffle just....appears. It's pretty neat.

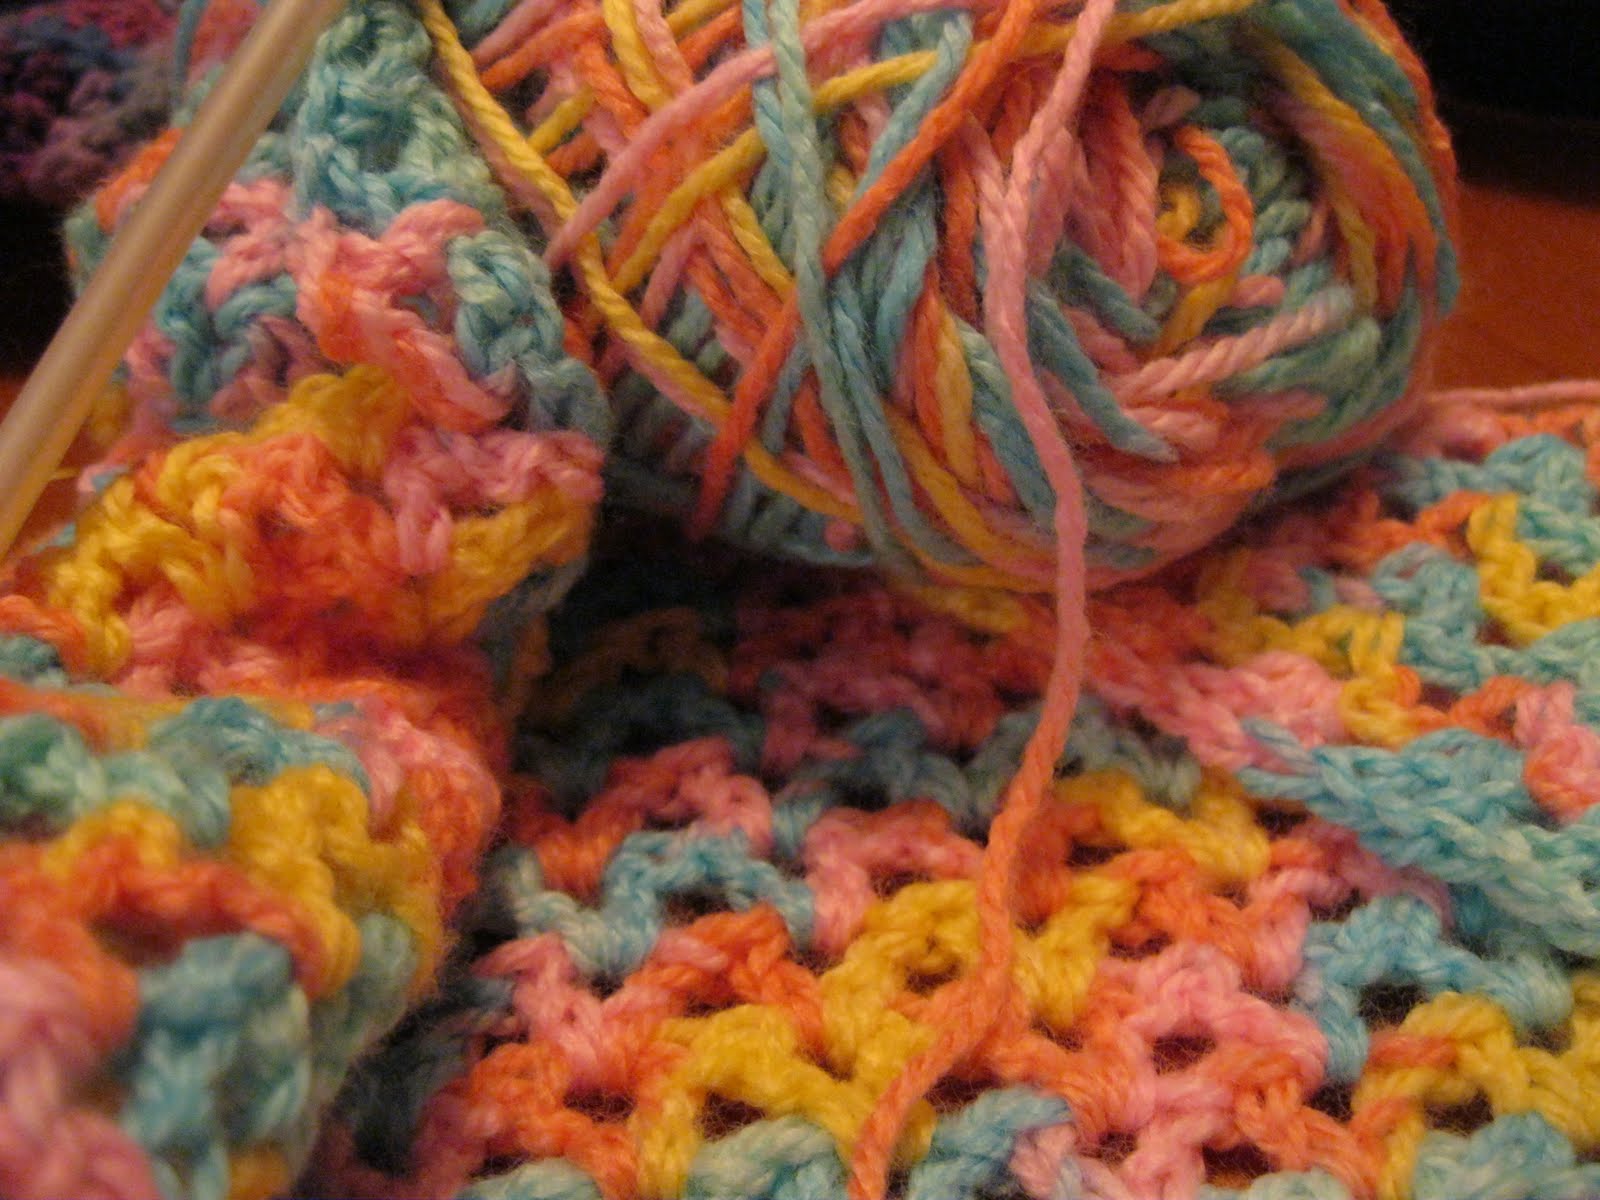
But now on to my car project of the day. I've been puttering away at yellow hexagons. I think I've perfected the pattern I want to use for the larger project. Here's one.


Can you guess why? What, oh what, might this bee?

Friday, August 26, 2011

Just smile, smile, smile.

I'm madly preparing for the beginning of the school year, but I found a few minutes of calm in a 10-minute craft. I couldn't find any notecards I liked to send home as my beginning of the year handwritten notes to parents about their wonderful children, so I picked up some supplies from the bargain bins at Michael's and got to work. All that's involved is a quick stamp on a die-cut card, made special by the tie-dye effect you get from pressing half the stamp into blue ink and half into green. Here are the results:


Something I did not know until I was cleaning up and wanted to do it properly:
-spongy pigment inkpads should be stored upright and tightly sealed
-felt inkpads (traditional inkpads) should be stored upside-down to keep the ink at the inkpad surface.
Now I know.

Cost of the project:
$4.50 for 3 packages of 8 die-cut cards with envelopes
$3.00 for 2 colours of stamp pads
$1.50 for the "smile" stamp
$0.00 for the butterfly stickers - found them in a box of stuff in my office
-------------------
$9.00, or approximately 38 cents per card


To finish it off, I stamped the envelope as well with a rubber stamp from my collection. :) (Once you start stamping things, it's hard to stop.)

Tuesday, August 23, 2011

Wedding Program Tutorial

It's time for a little throwback....all the way to Nov. 2010! (I said little!) While cleaning the basement, I found the last handful of our wedding programs. I was so pleased with these that I had to snap a few more photos before I recycled them. I just love the rainbow of colours and assortment of odd items on this funky scrapbook paper. As a final farewell to this last little bit of wedding clutter, I thought I'd write a walk-through of how to assemble them.


Materials Needed:
- double-sized heavy scrapbooking paper (12 x 12 size)
- plain 8 1/2 x 11 cardstock
- laser printer
- Fiskars paper trimmer
- Exacto knife
- metal ruler
- ruled cutting mat
- double-sided tape (the Mainstays brand from Wal-Mart is cheap and wide and made light work of the assembly)
- ribbon

1. The printed pieces are pretty straightforward. We created a template in a word processing program, using the text, font, and clip art we wanted. Print it onto card stock and slice it down to size using the paper trimmer.

2. The main body of the program was a tri-folded piece of double-sided scrapbooking paper. Trim the paper to 12 x 6 size (you can get 2 programs from each piece of scrapbook paper).

3. Scoring the paper to make the folds crisper is the trickiest part. (You definitely need a thicker paper to do this, or you'll just end up slicing it clean through.) Using the cutting mat to measure and the metal ruler as a guide, gently graze the surface of the paper with an exacto knife. Follow this link to hear a lady with a lovely British accent explain it to you.

4. You'll need to score both sides of the paper. Score 4" in from one side, then flip the paper over and score 4" in from the other. This will help you to easily fold your paper in an accordion style.


5. Attach the printed pieces to the background using double-sided tape. (You'll need less than you think. That stuff really does its job!)

6. Cut a piece of ribbon about 20" long. Lay the ribbon over the front of the program, like this:


7. Then, grab the two sides of ribbon and flip the card over so that the ribbon wraps around the back like this:


8. Cross the ribbon over the back side and flip the card back around to the front to tie a bow.


It's best to do these assembly-line style. Things definitely progress much faster that way!


A special shout out to my amazing in-laws and cousin Kelly who helped to do most of the trimming and scoring on this major project!

Friday, August 19, 2011

Craft du Jour

I've officially found something better than dishcloths to make with crochet cotton. (My sister will be thrilled since I think she gets grossed out just thinking about them.) I'm currently experimenting with bath scrubbies. These little guys are about 10cm in diameter and they look so cute! Can't wait to try them out (and have some others try them out) to see if making a small mountain of these might be a good idea for Christmas.


Just to get the math down:
1. One ball of yarn makes three scrubbies with scraps to spare.
2. I can make one-and-a-bit scrubbies while watching an episode of Big Love.
3. I've made 5 1/2 of these guys today.
4. Guess that means I've watched about 4 Big Love reruns. *gasp* It's just such a good show!

I found the pattern on the Ravelry website, which requires a (free) membership to access it. It's Linda Prindle's "Spiral Scrubbie" pattern. ;)

Thursday, August 18, 2011

Picot + Peek 2

pi·cot/ˈpēkō/
Noun: A small loop or series of small loops of twisted thread in lace or embroidery, typically decorating the border of a fabric.


Loving this simple border! To make: first sc all the way around the edge of the project, putting 3 sc in each corner. Then comes the fun part: ch 2, sl in 2nd ch from hook, skip one sc and sl in the next 2 sc. Repeat, repeat, repeat and you have a sweet little edge for a sweet little project. ;)

Sneak Peek

I'm making something for someone...
...maybe it's for you!


I brought home a giant bag of yarn from the Spinrite Tent Sale today. I'm a big fan of cotton and found lotsa different cotton yarns in different weights to play around with...for amazing prices. I've already started on project #1 with new yarn, which means yet another project is in the UFO (unfinished object) pile for now! I'm hoping to have this project done by Friday and gifted by early next week, so stay tuned and you might see finished pictures soon.

On Sunday, I made my first visit to Jo-Ann Fabric & Craft when I was in Flagstaff, Arizona and it was raining. (You have no idea how happy I was to see a little rain. Rain = indoor activities = shopping!) A certain little magazine was calling my name at the checkout: greencraft costs $14.99, but Jo Ann offers a 10% discount AND I was on vacation, so I splurged on some light reading. Looks like the crochet craze might die down for a little while so that I can try out some of the neat ideas from this book. I'm still happily hooking, however, so who knows? ;)

Wednesday, August 17, 2011

Back From Vacation - Historical Craft "Snippet"

Back from our whirlwind tour of Nevada, Utah, and Arizona! One of our stops was a spontaneous visit to Cove Fort, an historic Mormon site on the drive between St. George and Salt Lake City. The restored fort is a combination of history preserved and an opportunity to teach tourists about Mormon beliefs. It was all very respectful, even if it was a little bit different from what we're used to. The thing that made me raise my eyebrows the highest, however, had nothing to do with religion.

See the box on the mantle? It's a box for collecting human hair. For crafts. (Waste not, want not!)


And the silhouette on the wall? Yep, that's human hair in action as a craft.

I'm all for green crafting, but I'm not going to go quite that far. ;) I'm off to the Spinrite Tent Sale to get myself some bargain yarn!

Monday, August 8, 2011

Slouchy Market Bag

This kept me busy during my unable-to-sleep-alone-in-the-hotel-room nights last week. The pattern is for Linda Permann's "Flea Market Bag." I made it in worsted cotton (some that I picked up super cheap at last year's tent sale). The cotton made it nice and sturdy. I'll have to try it out on my next fruit-and-veggies shopping trip!


Yarn: (? something similar to Bernat Handicrafter Cotton) - approx. 1/2 of the 1lb. bag of mill-ends
Estimated cost of materials: $2.50-$3.00
Estimated time invested: 10 hours?

Oh, and I made a camera pouch, too. The yarn is from a 1970s ball of RedHeart Luster Sheen that I bought at the thrift store for $1.00 and the lining comes from a 50-cent fabric scrap I found at the same place. I haven't finished it (needs something cute appliqued on the front) but I'm taking it on vacation anyway! :)


Wednesday, August 3, 2011

Crochet Flowers Card

The pattern for the flowers and the idea for this card came from a Spring issue of Crochet Today. Here's my take on it.


(I now have two big balls of crochet thread and these flowers hardly take any materials to make, so I'm looking for some other ideas to help use it up!)

Tuesday, August 2, 2011

Dresser Collection


I can't take full credit for this idea. It's based on a suggestion I found in some magazine, somewhere, at some time! One of my favourite little bits of my dressing room/our guest room is my dresser collection of blues and greens. Nothing on the dresser cost more than $5.00 (the jar of beach glass from Nova Scotia) and most things cost less than $1.00. Every so often, I see something interesting and add it in and/or swap something out. A simple way to add a little cottagey-kitsch to our cozy home. :)

Monday, August 1, 2011

Crafty Genes


Just a quick post for today, but as I was making my bed, I thought that the summer quilt we have on it was good proof that I was born to be crafty. Pieced by my Dad's mom with painstakingly tiny stitches and quilted by my Mom's mom and her cackling posse of quilting 'hens,' this quilt is a treasure. Probably sleeping under it is the reason why I wake up itchy with new crafting ideas!
Related Posts Plugin for WordPress, Blogger...